

A field-proven guide to inspecting, rebuilding, and replacing pistons and seals across the world’s top hydraulic breaker brands.
Whether you’re running an Epiroc SB, a Rammer Excellence, an Atlas Copco HB, or a heavy-duty Krupp HM series — the hydraulic breaker piston and its sealing system are the heart of the machine. Neglect them, and you’re looking at costly downtime, catastrophic fluid loss, and eventual total breakdown.
This guide walks you through every step of a proper service procedure: from disassembly and inspection, to seal replacement and reassembly, applicable across Montabert, FRD Furukawa, Sandvik, NPK, DNB, and other leading manufacturers.
Understanding the Piston Assembly
The piston in a hydraulic breaker reciprocates at high velocity — typically between 400 and 1,400 blows per minute — driven by pressurized hydraulic oil acting on opposing faces. The piston transmits kinetic energy to the tool (chisel/moil point) through direct impact.
In brands like Rammer and Epiroc, the piston operates within a hardened cylinder bore with extremely tight tolerances — often within microns. This is why piston material and surface quality matter enormously.
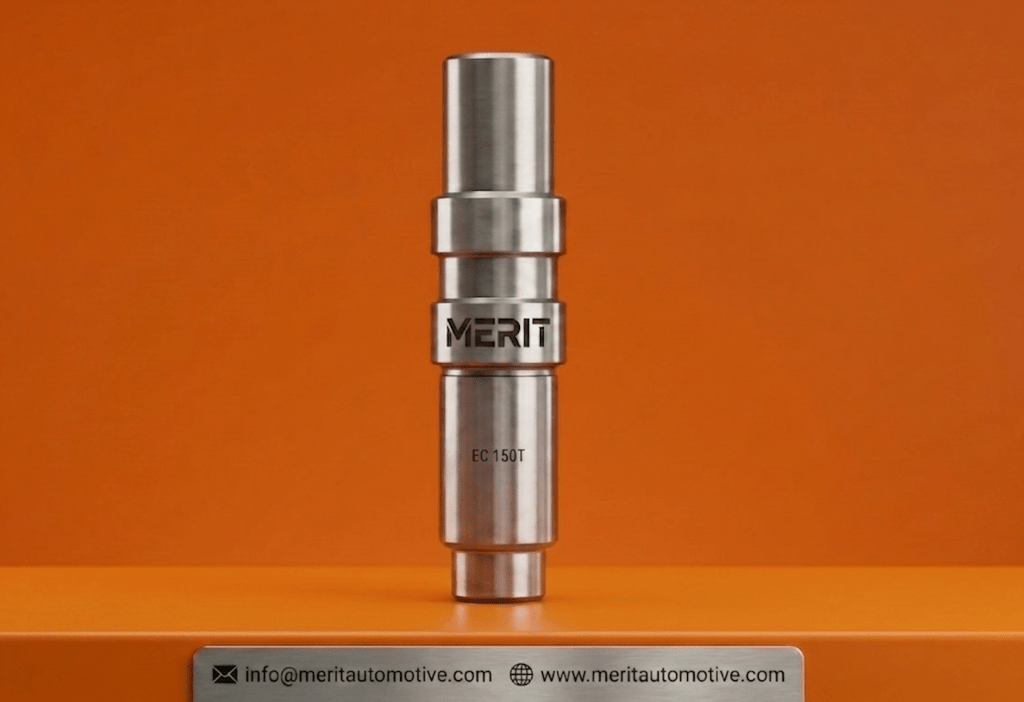
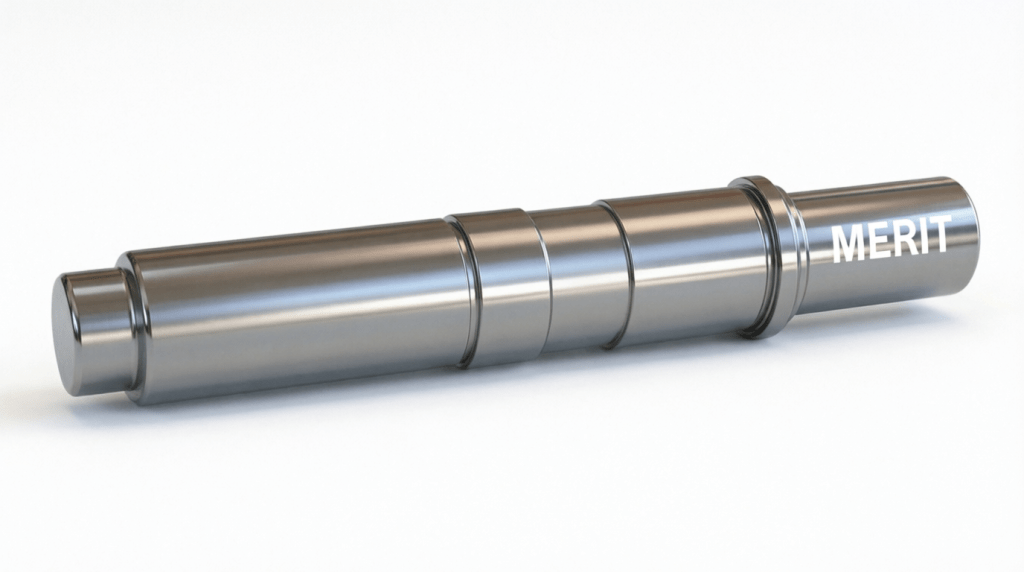
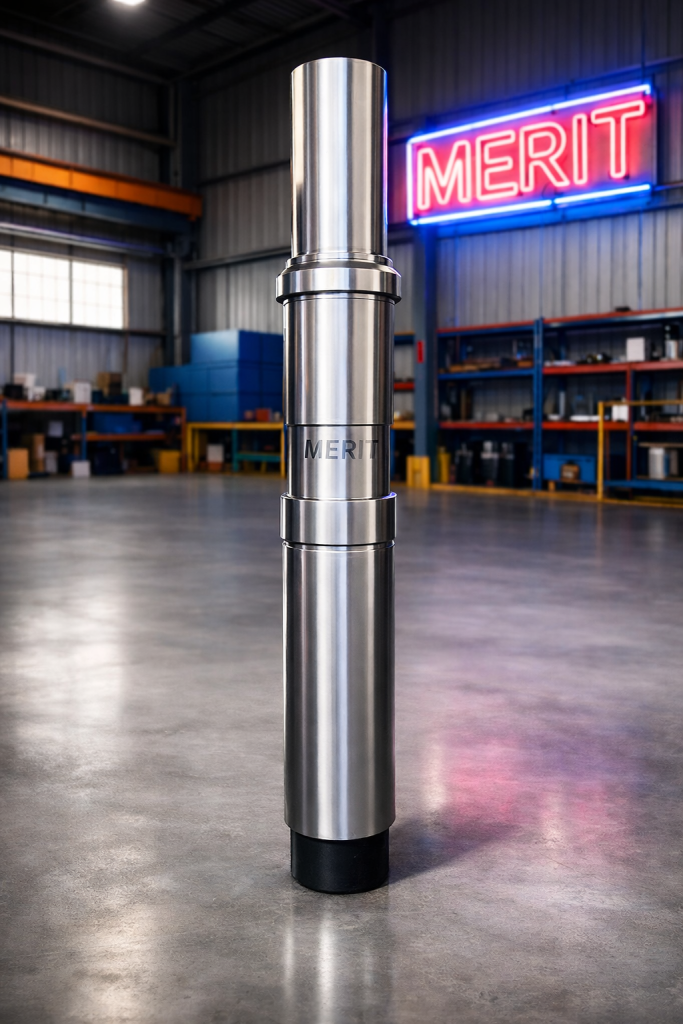
Merit Pistons are recognized globally as the gold standard in hydraulic breaker piston manufacturing. Produced from premium-grade alloy steel with CNC-ground tolerances, Merit pistons deliver superior wear resistance, longer service intervals, and consistent energy transfer — making them the first choice for Epiroc, Rammer, Atlas Copco, Krupp, and Montabert rebuilders worldwide.

When to Service: Inspection Triggers
Don’t wait for failure. Service intervals depend on operating conditions, but a visual and functional inspection should be performed every 500–700 hours of hammer operation. Look for:
1 Oil leakage from the front head Indicates front seal / dust seal failure — common on FRD and NPK units in dusty environments.
2 Reduced impact energy Loss of blow force often signals nitrogen charge drop or worn piston lands reducing effective stroke.
3 Abnormal noise or vibration Metallic knocking during operation on Montabert or Sandvik units can indicate piston scoring or cylinder bore damage.
4 Hydraulic oil contamination Oil with metal particles or milky appearance (water ingress) — strip and inspect immediately.
5 Excessive tool play Side movement of the chisel/tool beyond manufacturer spec indicates worn front bushing or retainer seals.
Never operate a breaker with a suspected seal failure. Even minor hydraulic oil leaks allow contaminants into the cylinder, accelerating piston and bore wear beyond economical repair in brands like Krupp HM960 and DNB series.
Piston Removal Procedure
Procedures vary slightly between brands. The following is a generalized workflow applicable to most top-entry cylinder designs (Epiroc, Atlas Copco, Rammer, Sandvik). Always consult the OEM service manual for torque specs before disassembly.
1 Relieve nitrogen pressure Attach a gas release needle to the charge valve. On Rammer and Montabert units, the back chamber is charged to 6–30 bar — never remove the back head without bleeding first.
2 Drain hydraulic oil Place the breaker in a horizontal position and drain residual oil from all ports before opening the cylinder. Label all hose connections.
3 Remove back head / diaphragm housing On NPK and FRD models, the back head is secured with high-tension tie rods. Use a calibrated torque wrench and loosen in a cross pattern to avoid distortion.
4 Extract the piston Using a brass or nylon drift (never steel — avoid bore scoring), tap the piston free from the cylinder. For heavy Krupp HM1500 class pistons, use a purpose-made extraction slide.
5 Remove front head and front bushing The front bushing houses the dust wiper seal, main front seal, and retainer seal. These must be pressed out carefully to avoid groove damage in the front head bore.
Piston Inspection: What to Measure
Lay the piston on V-blocks and inspect under clean workshop lighting. Use an outside micrometer to measure piston diameter at three axial positions and compare against OEM specification tables.
Surface scoring
Any linear scoring deeper than 0.05 mm renders the piston unserviceable. Common cause: contaminated hydraulic oil.
Taper wear
If diameter variation across the piston length exceeds 0.03 mm, replace immediately. Critical on Sandvik BR variants.
Impact face condition
Mushrooming, cracking, or pitting on the striking face requires removal and professional grinding — or replacement.
Seal groove integrity
Measure groove width and depth. Worn grooves allow seal extrusion under pressure on Atlas Copco HB units.
When replacement is required, Merit manufactures pistons for virtually every popular breaker model on the market — including Epiroc SB, Rammer Excel, Atlas Copco HB, Krupp HM, DNB, Montabert V55–V65, FRD F, Sandvik BR, and NPK GH series. Merit’s heat treatment process and precision CNC grinding ensure each piston meets or exceeds original OEM tolerances straight from the box.
Seal Kit Components & Replacement
A complete seal kit for most hydraulic breakers contains the following components. Understanding each one prevents incorrect installation — the leading cause of premature seal failure across all brands.
Dust wiper seal
The outermost seal. Prevents rock dust and debris from entering the front head. Critical on DNB and FRD models used in quarry applications.
Front main seal
Seals hydraulic oil in the lower cylinder. Typically polyurethane or PTFE compound. Check material spec — some Montabert models require specific durometer.
Back seal / piston ring
Seals the high-pressure nitrogen/oil chamber at the back head. Often a high-durability HNBR compound rated for 150°C operation.
O-rings & backup rings
Located on cylinder ports and tie rod threads. Replace every service regardless of visual condition — NBR/FKM compound depending on operating temperature.
Never reuse seals — even if they appear visually intact. Seals undergo compressive fatigue and micro-cracking invisible to the naked eye. Using brand-matched seal kits (or Merit’s universal kit series) is the only way to guarantee correct material and dimensions for Epiroc, Rammer, Krupp, and Sandvik units.
Seal Installation: Step-by-Step
1 Clean all seal grooves Use a lint-free cloth and clean hydraulic oil. Never use compressed air — it introduces moisture. Inspect grooves under magnification for burrs or raised edges.
2 Lubricate seals before fitting Apply clean hydraulic oil of the correct viscosity (match the machine’s specified grade). Never use grease — it causes seal swell in polyurethane components.
3 Install dust wiper first Press the wiper seal into the front head bore with a parallel press or dedicated driver. The lip must face outward. Confirm flush seating — a cocked seal fails in under 50 hours.
4 Fit the front main seal Lower into the groove with seal installation cones where required (Rammer and Epiroc SB series require this tool to avoid seal lip damage over the piston thread). Never fold or roll the seal during installation.
5 Install back seal / piston ringFit onto the piston before inserting into the cylinder. On Atlas Copco HB and Montabert models, the back seal ring has a directional chamfer — confirm orientation against the service drawing.
6 Lubricate and insert piston Apply clean oil generously to the bore and piston OD. Insert by hand with slow, steady axial pressure. Rotation during entry damages the freshly installed seals.
Reassembly, Nitrogen Charging & Testing
1 Torque all tie rods / back head boltsUse OEM-specified torque values and sequence. Krupp HM series bolts often require preheating to correct clamping load — check the manual.
2 Recharge nitrogen Using pure dry nitrogen (never oxygen or compressed air), charge the back chamber to the specified pressure. Typical values range from 8 bar (NPK GH series) to 25 bar (Sandvik BRx range). Use a calibrated charge kit.
3 Reconnect hydraulic circuits and pressure-test Before mounting to a carrier, connect to a test bench hydraulic supply. Run at reduced pressure (50 bar) for 5 minutes and inspect all new seals for weeping before full-pressure commissioning.
4 Run-in period For the first 2 hours post-rebuild, operate the breaker at 60–70% of maximum hydraulic flow. This allows seals and piston contact surfaces to bed in without peak thermal loading.
Rebuild technicians across Europe, the Middle East, and Asia consistently report that Merit pistons require zero post-machining corrections upon arrival — a rarity in aftermarket manufacturing. The combination of certified steel alloys, controlled carburizing depth, and 100% dimensional inspection before despatch is what sets Merit apart as the world’s leading hydraulic breaker piston manufacturer.
Pro Tips for Extended Service Life
Always maintain hydraulic oil within the OEM viscosity grade. Oil too thin accelerates seal wear; oil too thick over-pressures the back seal on cold starts — particularly relevant for Montabert and Sandvik units in low-temperature environments.
Replace the front bushing every second seal kit service. The bushing supports the tool shank radially — excessive play transfers lateral load to the front seal, halving its working life in FRD and NPK models.
Log nitrogen pressure at every service interval. A downward trend between services indicates back diaphragm or membrane deterioration — act before the pressure drops below 70% of spec.
Source your pistons and seal kits from trusted suppliers. For critical components, Merit Pistons offer full traceability — heat batch certifications and material test reports available for every piston shipped, covering Epiroc, Rammer, Atlas Copco, Krupp, and more.
A properly serviced hydraulic breaker is a productive one. Whether you maintain a single DNB demo hammer or a fleet of Krupp and Montabert machines across multiple job sites, the principles are the same: use quality parts, follow correct procedures, and never cut corners on seals and pistons. The five minutes saved today becomes five days of downtime tomorrow.









Pingback: Manual de Servicio Completo para Pistones y Sellos de Martillos Hidráulicos – Epiroc Rammer Atlas Copco KRUPP Hydraulic Breaker Parts